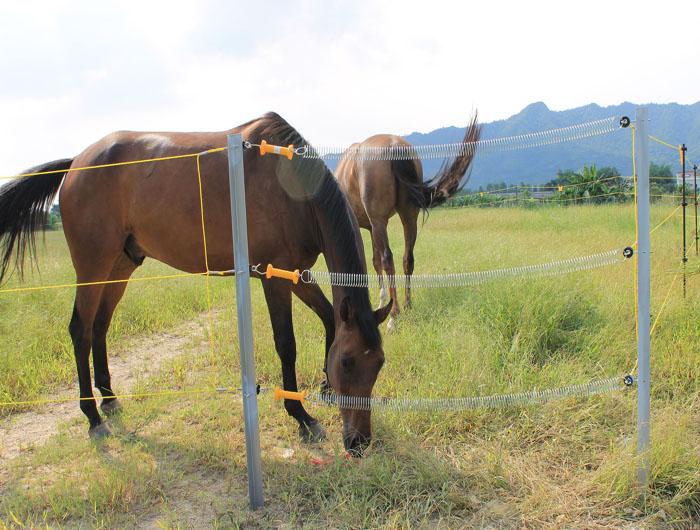
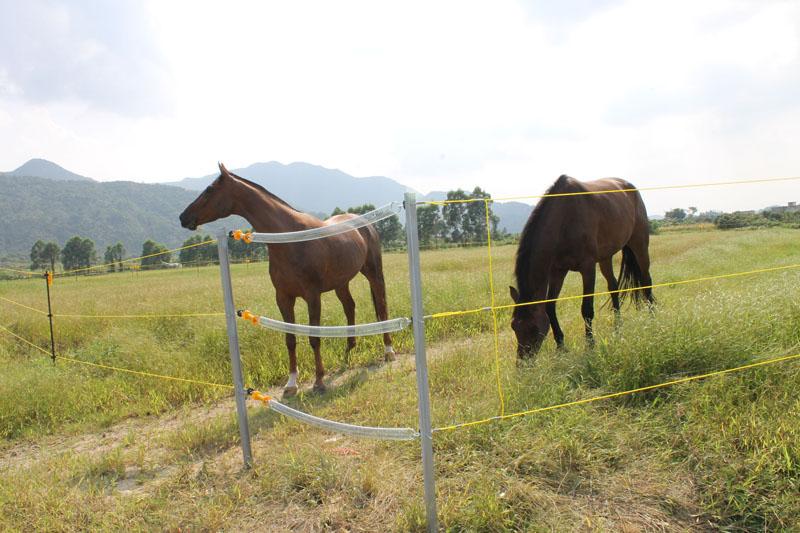
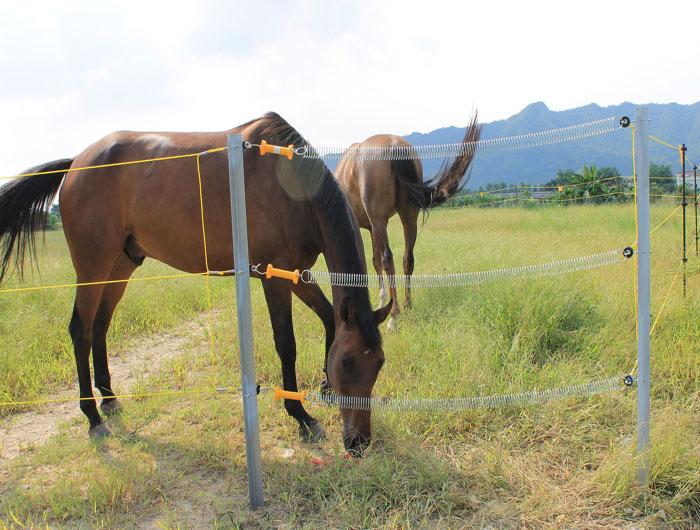
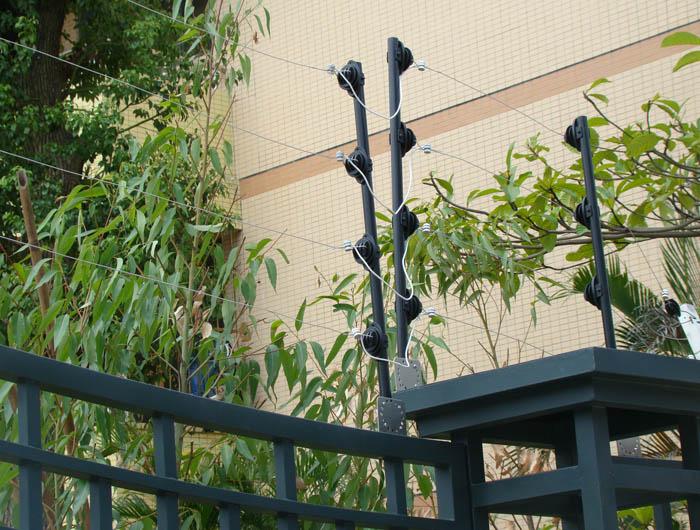
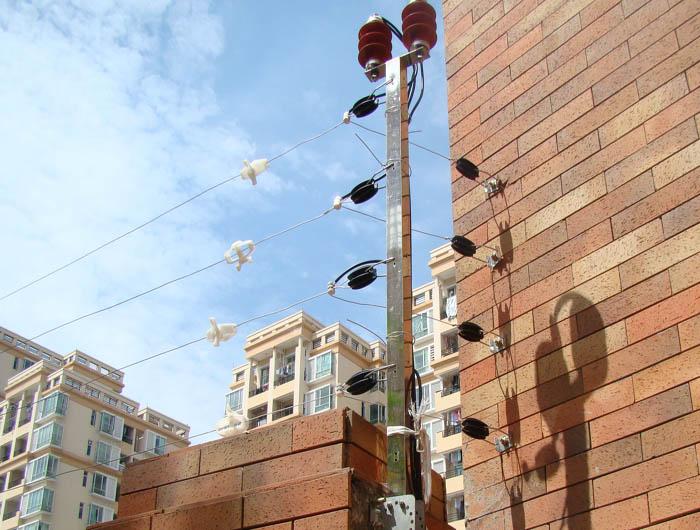
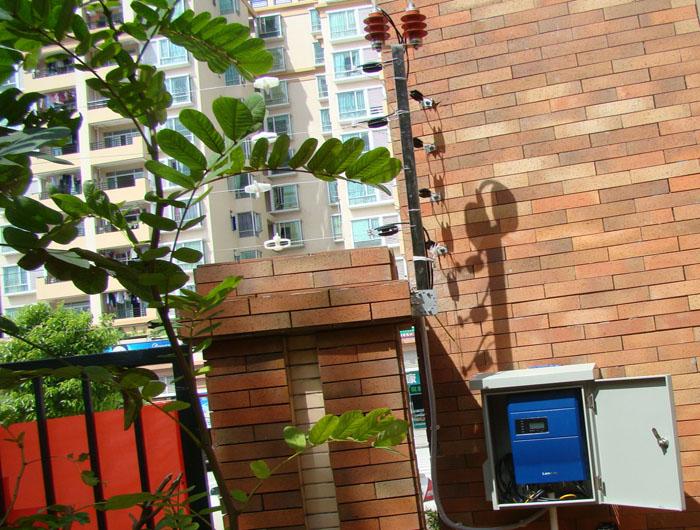
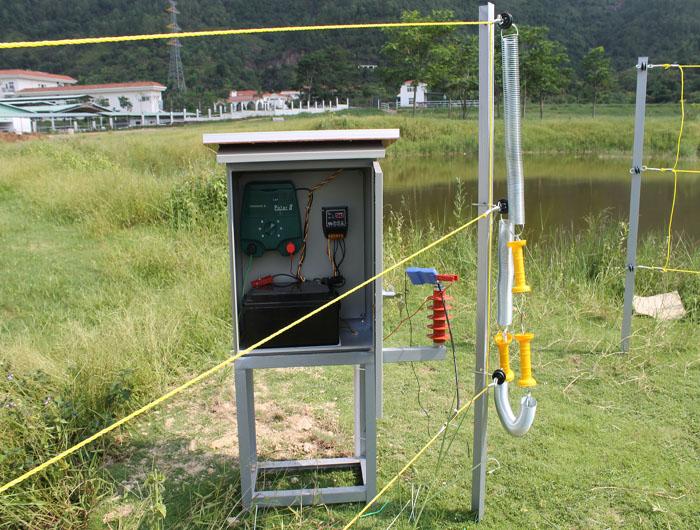
Electric fences
can be a great solution if you have livestock or want to keep animals out of
your property. Not only are they inexpensive to install, but they're also easy
to maintain and come with many benefits. However, if you're new to the concept
of electric fence installation, it may seem intimidating.if you are a
beginner, we can provide the guide for your reference.
Step 1:
Determine the Perimeter of Your Fence
First, you need
to determine the perimeter of your fence. You may use the stakes to mark the
corners of your property and use a measuring tape to measure the distance
between each stake. Once this is done, you'll know how much fencing you need.
This step is also a good time to decide on the type of electric fence you want
to install.
Step 2: Choose the
right charger
However, an
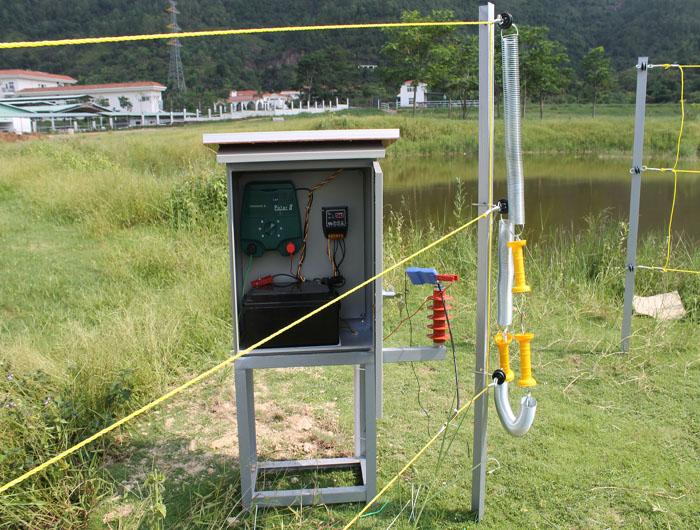
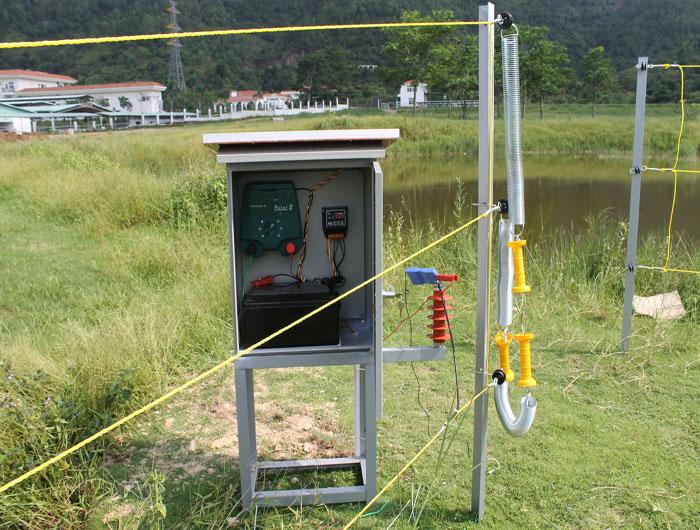
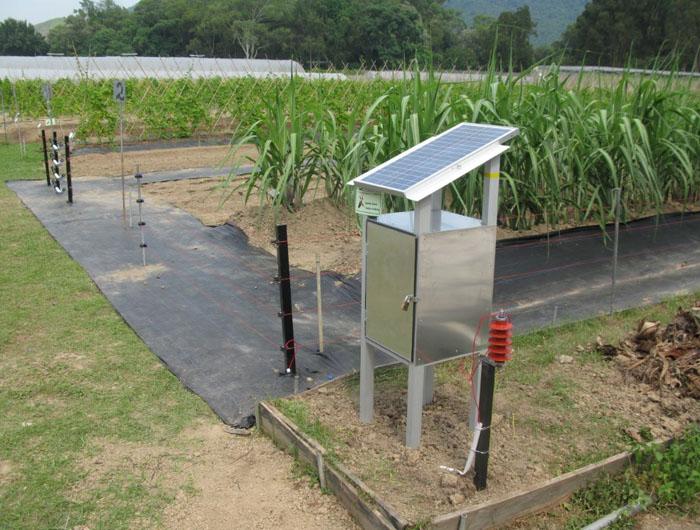
electric fence charger is a device that powers your electric fence. A battery
or a solar panel can power the electric fence charger, so decide which one
suits you better. Choosing a charger that corresponds to the length of your
electric fence is important. A good rule of electric fence
installation in Pretoria is to fix a
charger with a minimum of 0.5 joules for every mile of fencing.
Step 3: Install
the Posts
Electric fence posts are crucial components in any electric
fence system, laying the foundation for optimal safety. Selecting the
appropriate electric fence post is essential to avoid potential issues. Here's
a breakdown of various types and considerations to help you make the best
choice for your situation.
Step 4: Install
the Fence Wire
The fence wire
carries the electric current, and choosing a wire suitable for your needs is
important. There are different types of wire, such as high-tensile or stranded
wire, and you should also consider the wire gauge.
Step 5: Install
the Electric Fence Charger
After you've
installed the posts and the fence wire, it's time to install the electric fence
charger. Connect the charger to the fence wire using an insulated cable, and
follow the manufacturer's instructions on installing the charger. Ensure to
ground the charger, as it's an important safety feature that prevents electrical
surges from damaging the charger or the fence.
Step 6: check the
fence
Before you
release your livestock or animals onto your property, testing the fence is
important to ensure it works correctly. Use a railing tester to check the
voltage and amperage of the fence. If you need the desired voltage or amperage,
troubleshoot the fence until you're sure it's working correctly.
Step 7: Install
Warning Signs
Even though
electric fences are safe for humans and animals, it's essential to install
warning signs to let everyone know it's an electric fence. Post signs every 50
to 100 feet along the barricade, and make sure they're visible from both sides.
Step 8:
Maintenance
Once your
electric fence is up and running, it must be maintained regularly to ensure it
works correctly. Keep the barrier clean from debris and vegetation, and check
the voltage and amperage of the fence every couple of months.
An electric
fence can be an excellent method to keep your property secure, but it's crucial
to install it correctly to ensure it works effectively. Remember to choose the
right electric fence charger, wire, and posts, ground the charger accurately,
and test the fence before you let any animals access it.
Finally,
remember to install warning signs and maintain the bar regularly to ensure it
works correctly for years. With these eight simple steps, you can install an
electric fence that's reliable and easy to maintain.
“it never will rain roses. when we want to have more roses we must plant trees.”
— g. eliot

